track
Developing Large Language Models
16hrs hours
Running large language models (LLMs) like Llama 3 locally has become a game-changer in the world of AI. With platforms such as Hugging Face promoting local deployment, users can now enjoy uninterrupted and private experiences with their models.
In this blog, we will learn why we should run LLMs like Llama 3 locally and how to access them using GPT4ALL and Ollama. Moreover, we will learn about model serving, integrating Llama 3 in your workspace, and, ultimately, using it to develop the AI application. We will not only use it as a chatbot, but we will also use it to enhance our workflow and build projects with it.
Running Llama 3 locally might seem daunting due to the high RAM, GPU, and processing power requirements. However, advancements in frameworks and model optimization have made this more accessible than ever. Here’s why you should consider it:
Read our article, The Pros and Cons of Using Large Language Models (LLMs) in the Cloud vs. Running LLMs Locally, to learn more about whether using LLMs locally is for you.
GPT4ALL is an open-source software that enables you to run popular large language models on your local machine, even without a GPU. It is user-friendly, making it accessible to individuals from non-technical backgrounds.
We will start by downloading and installing the GPT4ALL on Windows by going to the official download page.
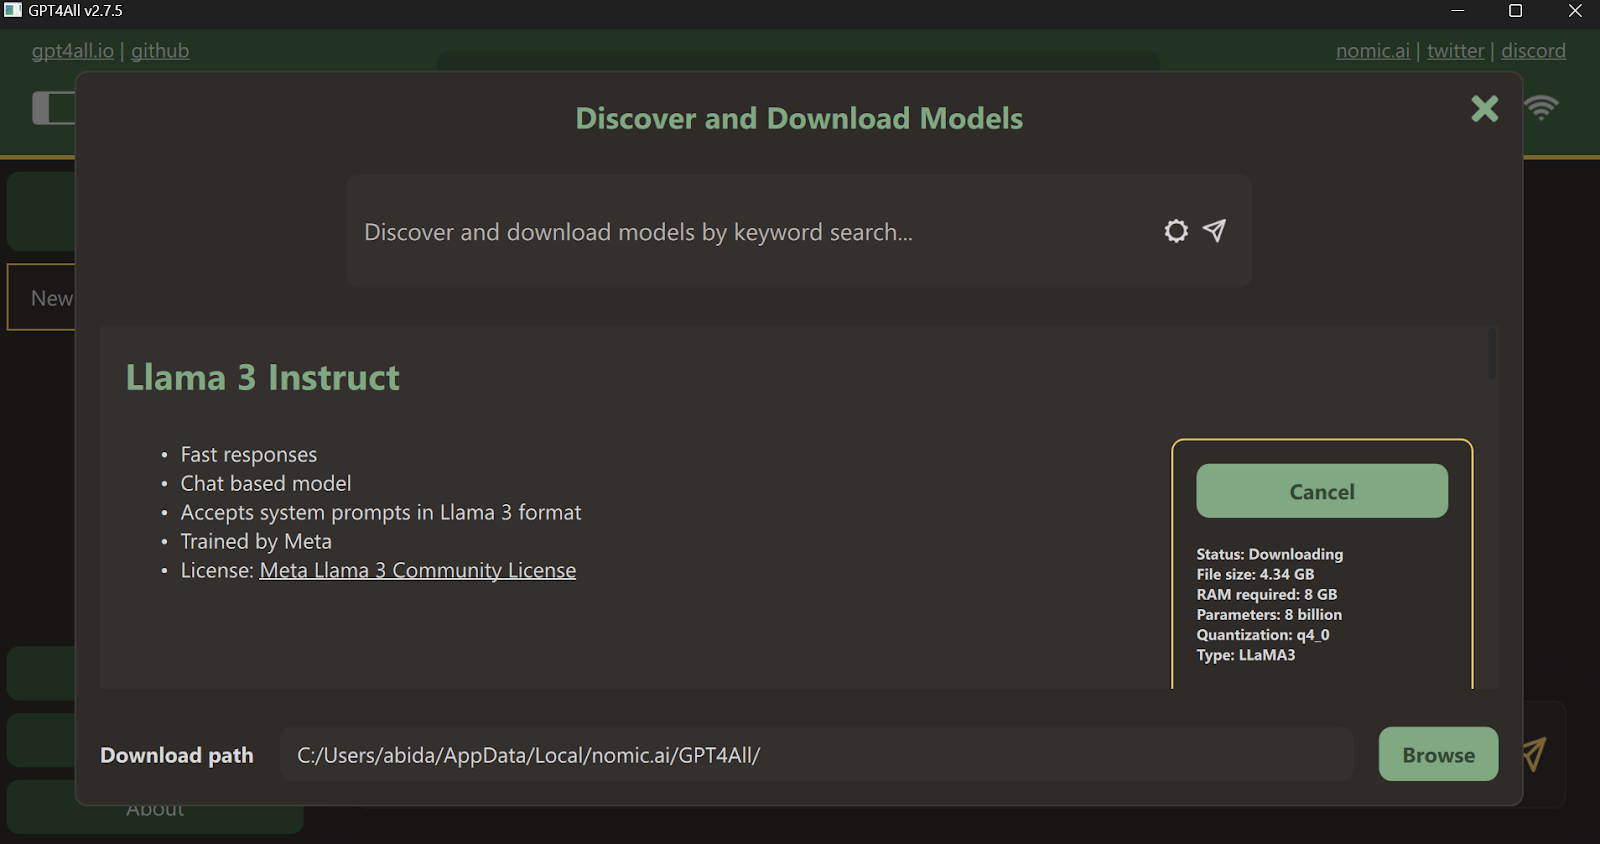
After installing the application, launch it and click on the “Downloads” button to open the models menu. There, you can scroll down and select the “Llama 3 Instruct” model, then click on the “Download” button.
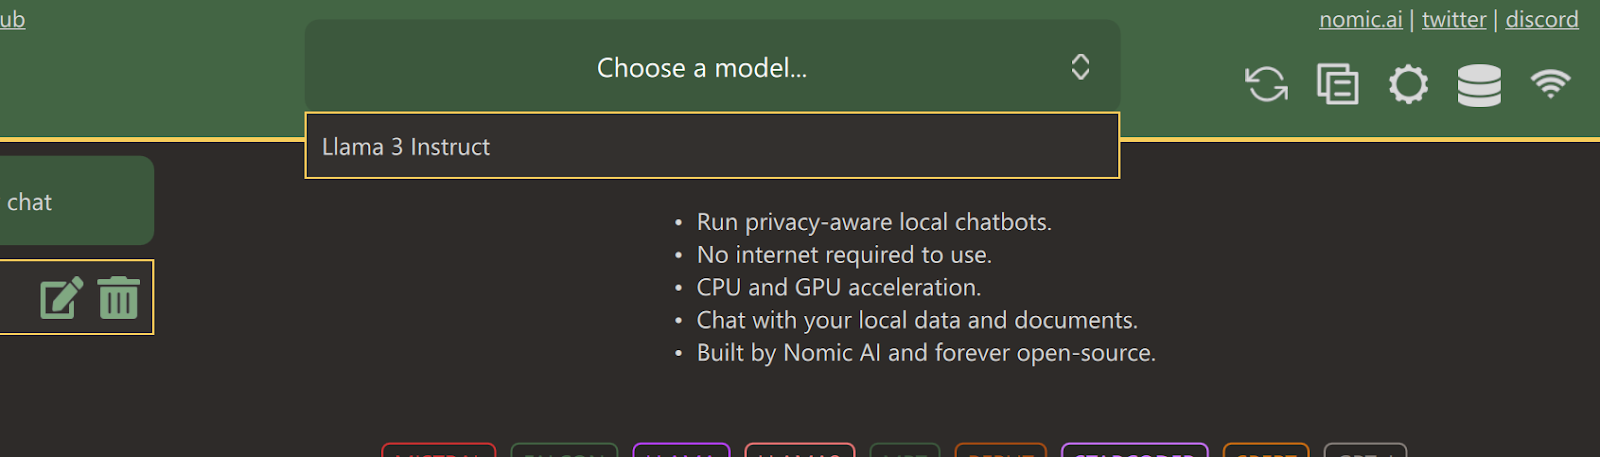
After downloading is completed, close the tab and select the Llama 3 Instruct model by clicking on the “Choose a model” dropdown menu.
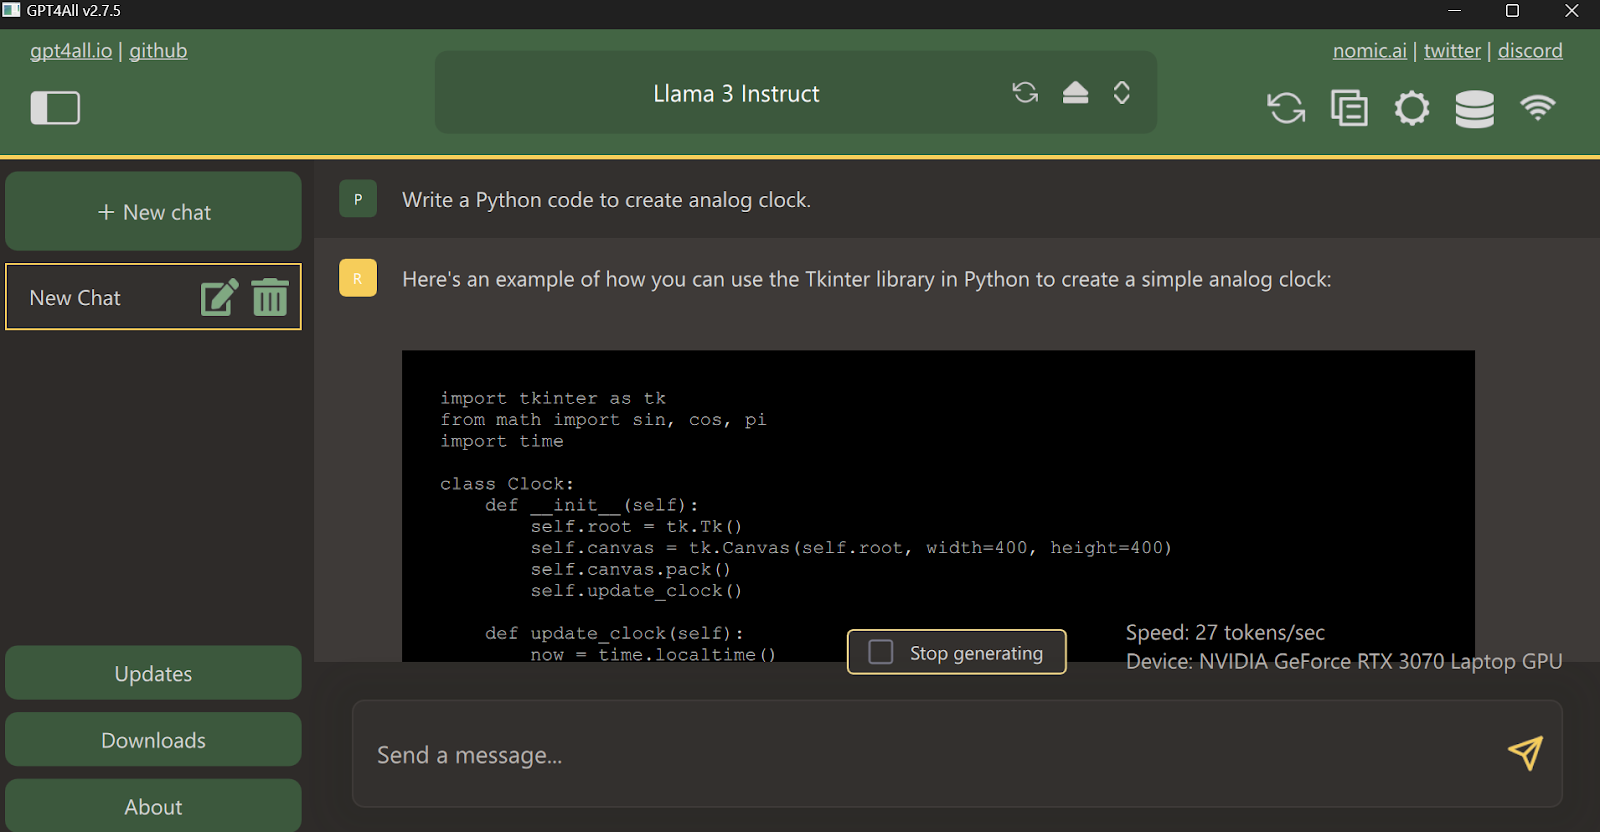
Type a prompt and start using it like ChatGPT. The system has the CUDA toolkit installed, so it uses GPU to generate a faster response.
Now, let’s try the easiest way of using Llama 3 locally by downloading and installing Ollama.
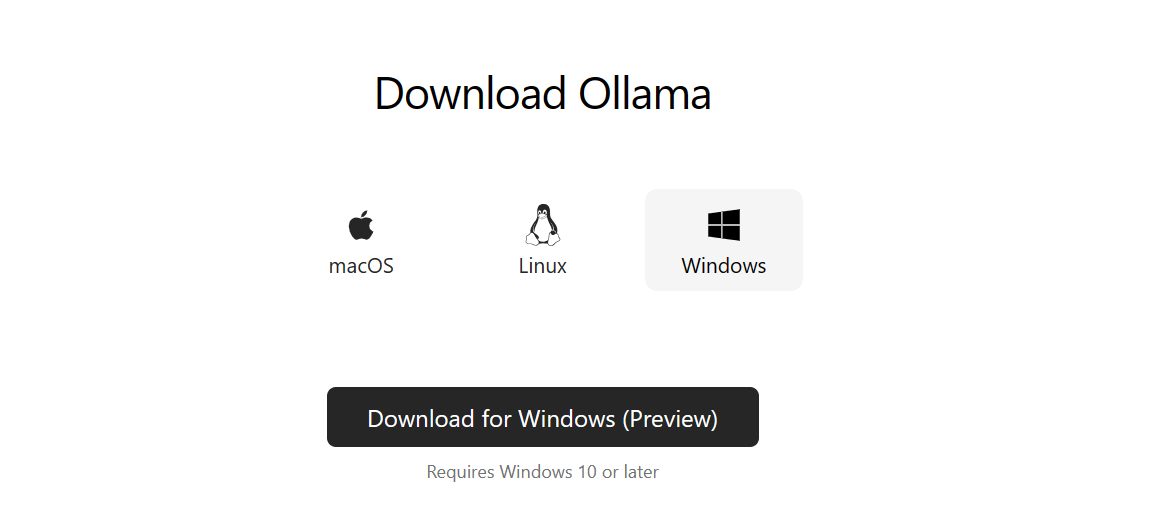
Ollama is a powerful tool that lets you use LLMs locally. It is fast and comes with tons of features.
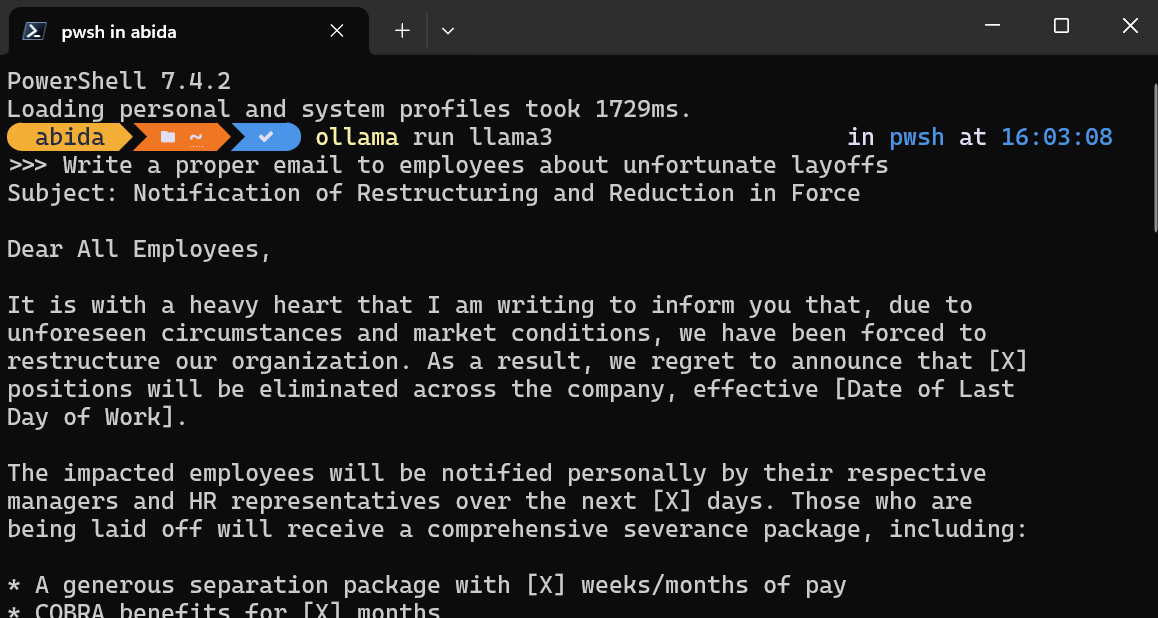
After installing Ollama on your system, launch the terminal/PowerShell and type the command.
ollama run llama3Note: Downloading the model file and starting the chatbot within the terminal will take a few minutes.
Write prompts or start asking questions, and Ollama will generate the response within your terminal. The chat response is super fast, and you can keep asking follow-up questions to dive deep into the topic.
To exit the chatbot, just type /bye .
In addition to these two software, you can refer to the Run LLMs Locally: 7 Simple Methods guide to explore additional applications and frameworks.
Running a local server allows you to integrate Llama 3 into other applications and build your own application for specific tasks.
Start the local model inference server by typing the following command in the terminal.
ollama serveTo check if the server is properly running, go to the system tray, find the Ollama icon, and right-click to view the logs.
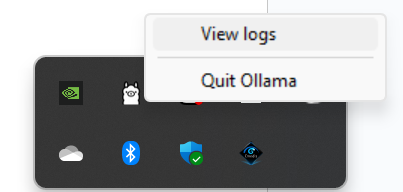
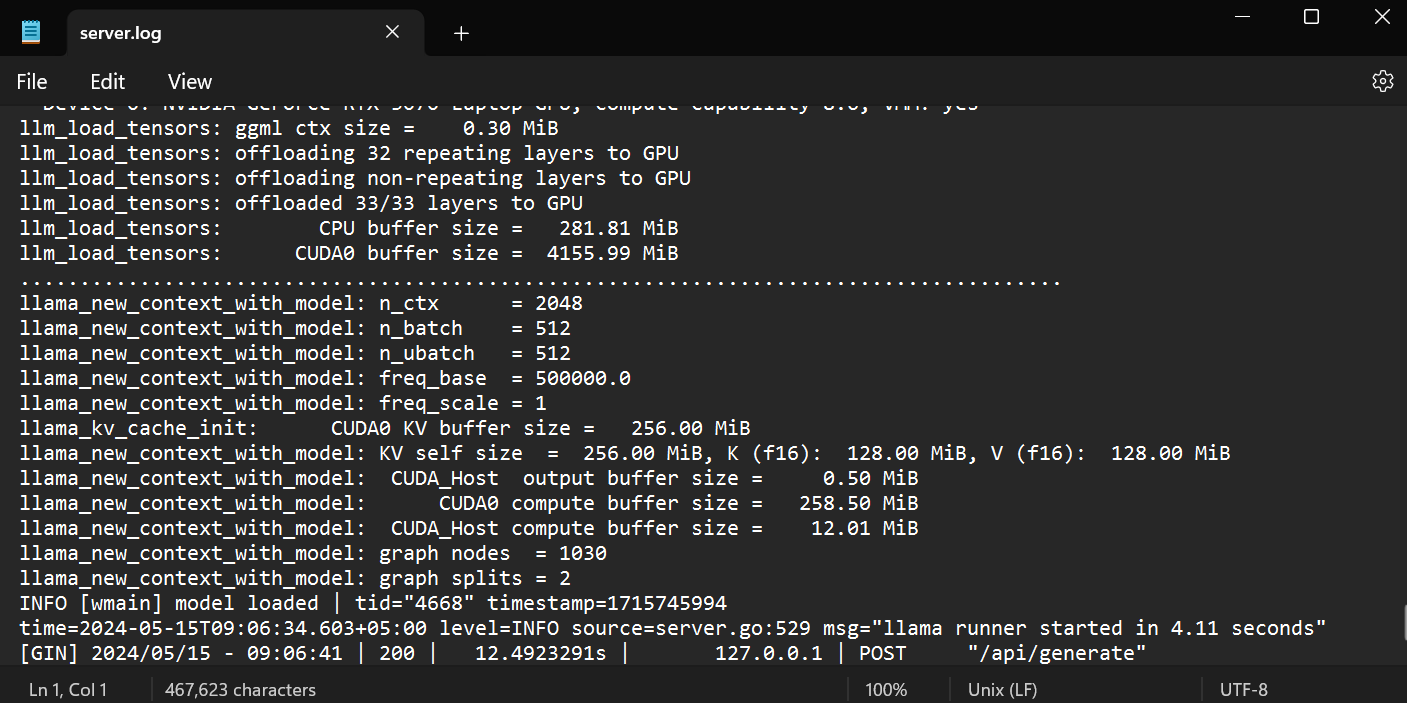
It will take you to the Ollama folder, where you can open the `server.log` file to view information about server requests through APIs and server information with time stamps.
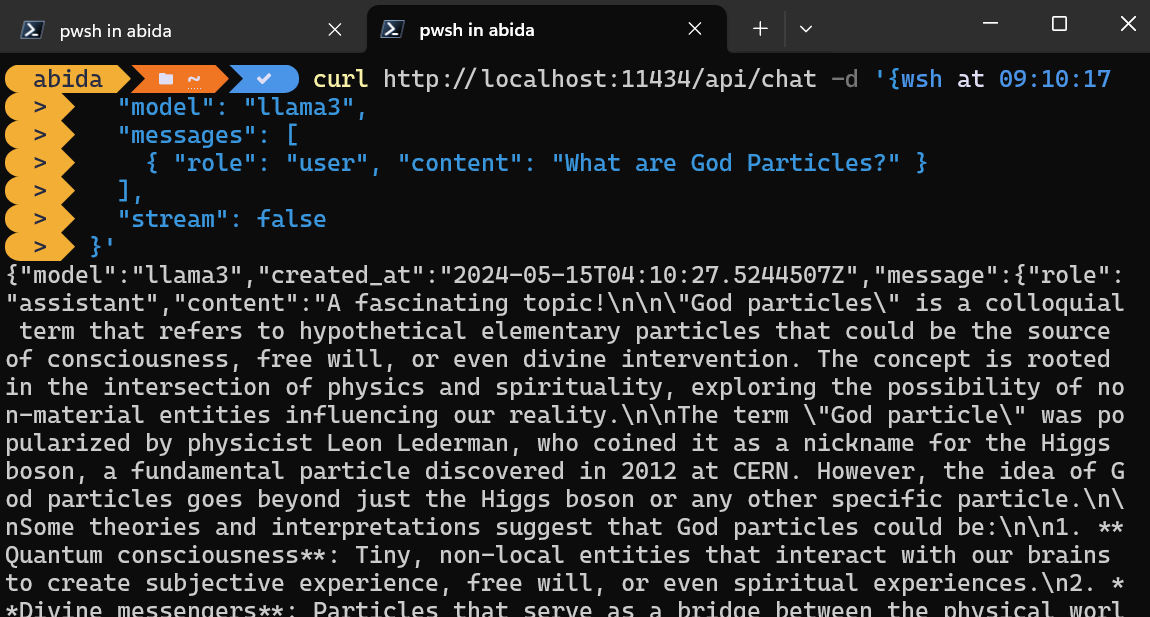
You can simply access the inference server by using the CURL command.
Just provide the model name and prompt, and make sure the streaming is off to get the full message.
curl http://localhost:11434/api/chat -d '{
  "model": "llama3",
  "messages": [
    { "role": "user", "content": "What are God Particles?" }
  ],
  "stream": false
}'
The CURL command is native to Linux, but you can also use it in Windows PowerShell, as shown below.
You can also install the Ollama Python package using PIP to access the inference server.
pip install ollamaAccessing the API in Python gives you the power to build AI-powered applications and tools, and it is super easy to use.
Just provide the `ollama.chat` functions with the model name and the message, and it will generate the response.
Note: In the message argument, you can also add a system prompt and assistant prompt to add the context.
import ollama

response = ollama.chat(
    model="llama3",
    messages=[
        {
            "role": "user",
            "content": "Tell me an interesting fact about elephants",
        },
    ],
)
print(response["message"]["content"])
The Ollama Python package also provides features like asynchronous calls and streaming, which enable effective management of API requests and increase the perceived speed of the model.
Similar to the OpenAI API, you can create an asynchronous chat function and then write streaming code using the async function, allowing for efficient and fast interactions with the model.
import asyncio
from ollama import AsyncClient

async def chat():
    """
    Stream a chat from Llama using the AsyncClient.
    """
    message = {
        "role": "user",
        "content": "Tell me an interesting fact about elephants"
    }
    async for part in await AsyncClient().chat(
        model="llama3", messages=[message], stream=True
    ):
        print(part["message"]["content"], end="", flush=True)


asyncio.run(chat())
As you can see, the model displays the tokens as they are generated.
You can also use Python API to create the custom model, convert text to embeddings, and error handling. You can also copy, delete, pull, and push the models.
In addition to using Ollama as a chatbot or for generating responses, you can integrate it into VSCode and use Llama 3 for features such as autocompletion, context-aware code suggestions, code writing, generating docstrings, unit testing, and more.
1. First, we have to initialize the Ollama inference server by typing the following command in the terminal.
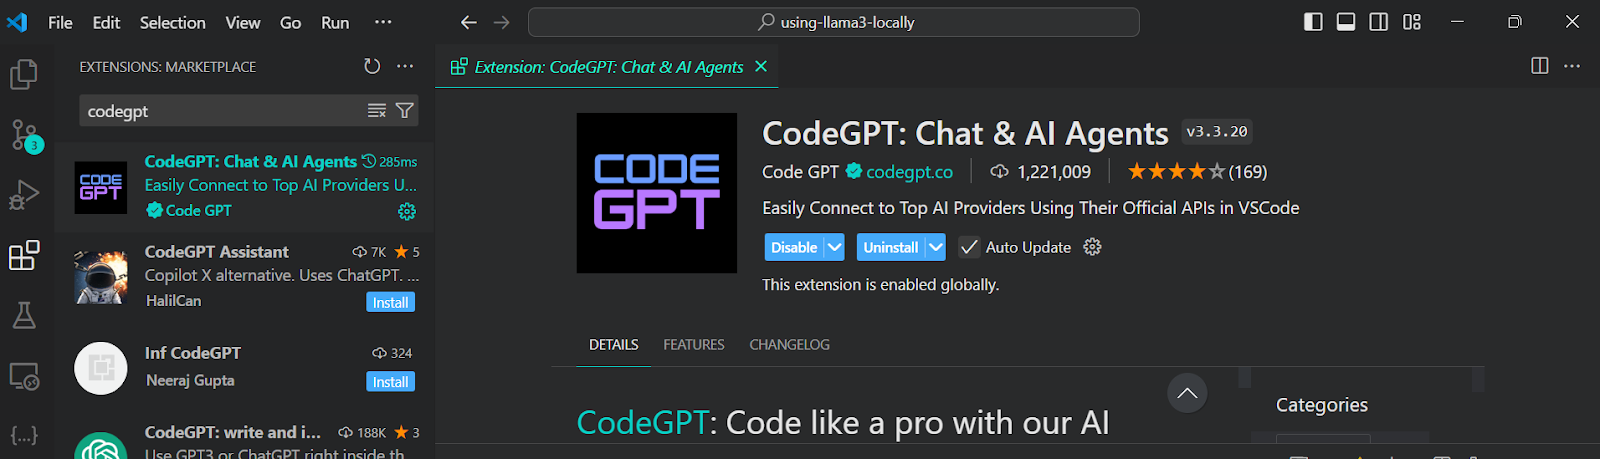
ollama serve2. Go to VSCode extensions, search for the "CodeGPT" tool, and install it. CodeGPT lets you connect any model provider using the API key.
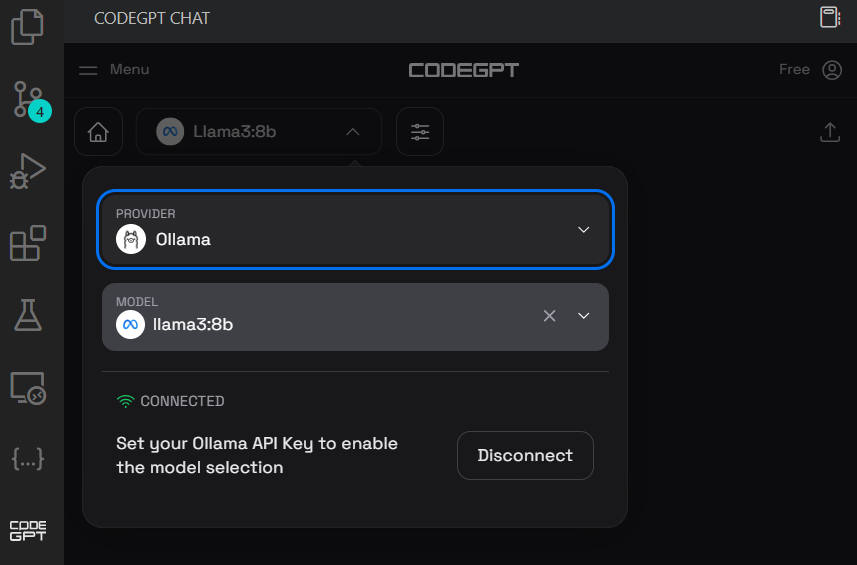
3. Set up the CodeGPT by clicking the CodeGPT chat icon on the left panel. Change the model provider to the Ollama and select the llama3:8b model. You don't have to provide an API key, as we’re running it locally.
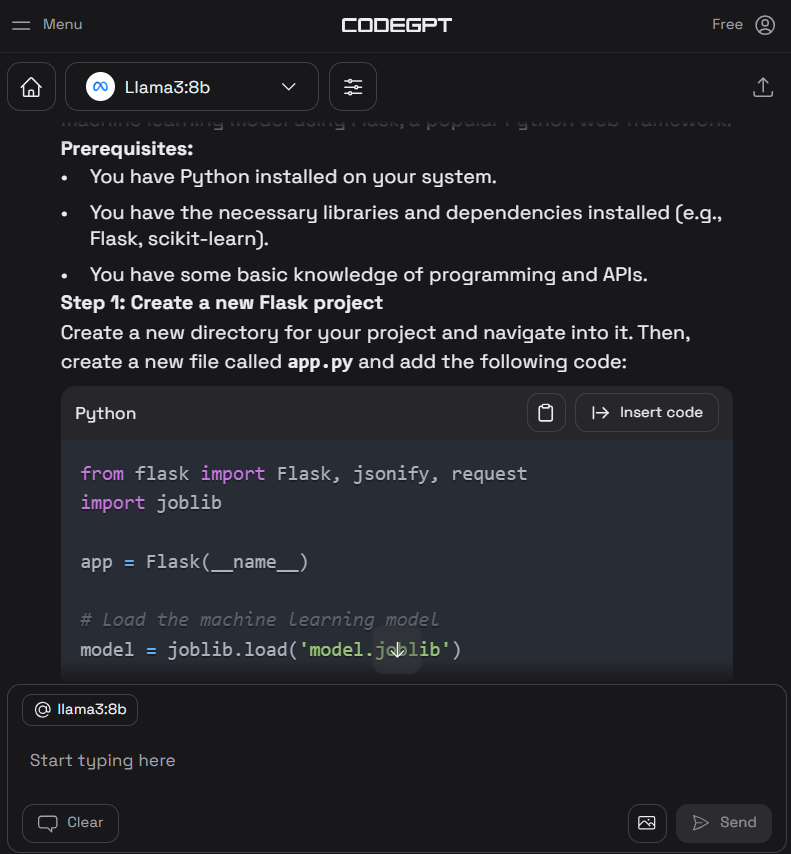
4. Write the prompt to generate the Python code and then click on the "Insert the code" button to transfer the code to your Python file. You can also write follow-up instructions to improve the code.
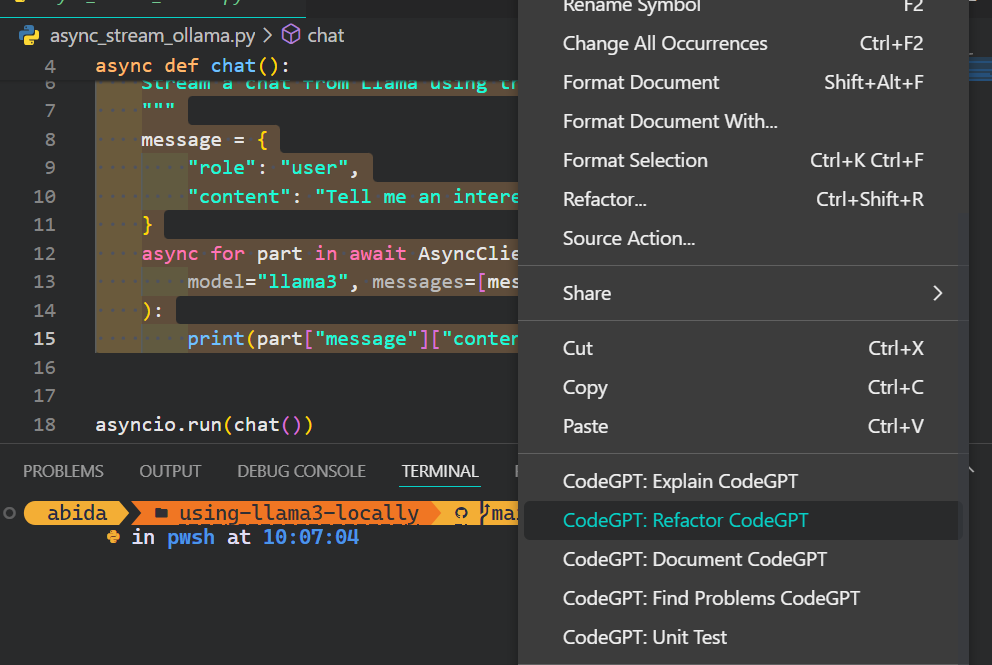
5. Apart from the coding assistant, you can use CodeGPT to understand the code, refactor it, document it, generate the unit test, and resolve the issues.
If you want to feel like a Python pro, check out the Setting Up VSCode For Python guide to learn about the VSCode core feature and customize it to your needs.
In this section, we will develop an AI-powered application that reads docx files from a designated folder, converts them into embeddings, and stores them in a vector store.
Afterward, we will use a similarity search to retrieve relevant meanings and provide contextual answers to your questions.
This application will enable you to quickly understand the essence of books and delve deeper into character development.
First, we will install all the necessary Python packages for loading the documents, vector store, and LLM frameworks.
pip install unstructured[docx] langchain langchainhub langchain_community langchain-chromaThen, start the Ollama inference server.
ollama serveIt is a best practice to develop and test your code in Jupyter Notebook before creating the app.
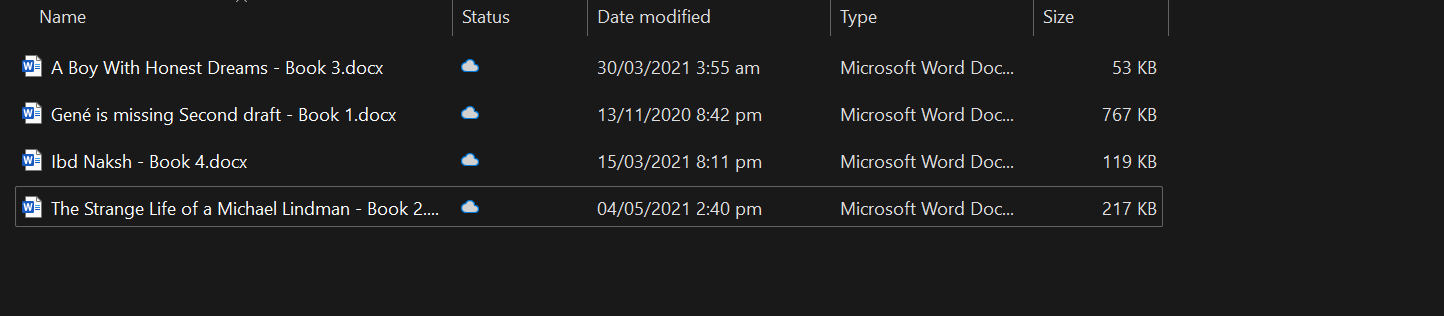
We will load all the docx files from the folder using the DirectoryLoader.
from langchain_community.document_loaders import DirectoryLoader

loader = DirectoryLoader("C:/Users/abida/Desktop/Books", glob="**/*.docx")
books = loader.load()
len(books)4You can create your own context-aware chatbot by following the tutorial, Chatbot Development with ChatGPT & LangChain: A Context-Aware Approach.
Feeding an entire book to the model is not feasible, as it would exceed its context window. To overcome this limitation, we must divide the text into smaller, more manageable chunks that fit comfortably within the model's context window.
In our case, we will convert all four books to a chunk size of 500 characters.
from langchain_text_splitters import RecursiveCharacterTextSplitter

text_splitter = RecursiveCharacterTextSplitter(chunk_size=500, chunk_overlap=0)
all_splits = text_splitter.split_documents(books)
We will use Langchain to convert the text into the embedding and store it in the Chroma database.
We are using the Ollama Llama 3 model as an embedding model.
from langchain_chroma import Chroma
from langchain_community.embeddings import OllamaEmbeddings

vectorstore = Chroma.from_documents(
    documents=all_splits,
    embedding=OllamaEmbeddings(model="llama3", show_progress=True),
    persist_directory="./chroma_db",
)
OllamaEmbeddings: 100%|██████████| 23/23 [01:00<00:00, 2.63s/it]Let's test our vector database by performing some similarity searches.
question = "Who is Zahra?"
docs = vectorstore.similarity_search(question)
docs
We got four results that are similar to the question.

You can dive deep into the world of Vector database and Chroma DB by reading the tutorial, Learn How to Use Chroma DB: A Step-by-Step Guide.
To build a proper question-and-answer retrieval system, we will use Langchain chains and start adding the modules.
In our Q&A chain, we will
Simply put, before passing it through the Llama 3 model, your question will be provided with context using the similarity search and RAG prompt.
from langchain import hub
from langchain_community.llms import Ollama
from langchain_core.output_parsers import StrOutputParser
from langchain_core.runnables import RunnablePassthrough

llm = Ollama(model="llama3")

retriever = vectorstore.as_retriever()


def format_docs(docs):
    return "\n\n".join(doc.page_content for doc in docs)


rag_prompt = hub.pull("rlm/rag-prompt")
qa_chain = (
    {"context": retriever | format_docs, "question": RunnablePassthrough()}
    | rag_prompt
    | llm
    | StrOutputParser()
)
You can build a similar application using LLamaIndex. To do that follow the LlamaIndex: A Data Framework for the Large Language Models (LLMs) based applications tutorial.
Ask relevant questions about books to understand more about the story.
question = "What is the story of the 'Gené is Missing' book?"
qa_chain.invoke(question)
As we can see, using books as a context provides an accurate response.
'Based on the provided context, "Gené is Missing" appears to be a mystery novel that revolves around uncovering the truth about Gené\'s life and potential involvement in murders. The story follows different perspectives, including Simon trying to prove his innocence, flashbacks of Gené\'s past, and detective Jacob investigating the case.'Let’s now ask a question about the character.
question = "Who is Arslan?"
qa_chain.invoke(question)
A precise answer was generated.
'Arslan is Zahra\'s brother\'s best friend. He is someone that Zahra visits in the book "A Boy with Honest Dreams" by Abid Ali Awan to gather information about Ali.'To build a fully-fledged AI application that runs seamlessly in your terminal, we will combine all the code from the previous sections into a single Python file.
code AI_app.pyFurthermore, we will enhance the code to enable interactive querying, allowing you to pose questions to the app repeatedly until you explicitly terminate the session by typing 'exit.'
from langchain_chroma import Chroma
from langchain_community.embeddings import OllamaEmbeddings
from langchain import hub
from langchain_community.llms import Ollama
from langchain_core.output_parsers import StrOutputParser
from langchain_core.runnables import RunnablePassthrough

# loading the vectorstore
vectorstore = Chroma(persist_directory="./chroma_db", embedding_function=OllamaEmbeddings(model="llama3"))

# loading the Llama3 model
llm = Ollama(model="llama3")

# using the vectorstore as the retriever
retriever = vectorstore.as_retriever()

# formating the docs
def format_docs(docs):
    return "\n\n".join(doc.page_content for doc in docs)

# loading the QA chain from langchain hub
rag_prompt = hub.pull("rlm/rag-prompt")

# creating the QA chain
qa_chain = (
    {"context": retriever | format_docs, "question": RunnablePassthrough()}
    | rag_prompt
    | llm
    | StrOutputParser()
)

# running the QA chain in a loop until the user types "exit"
while True:
    question = input("Question: ")
    if question.lower() == "exit":
        break
    answer = qa_chain.invoke(question)

    print(f"\nAnswer: {answer}\n")
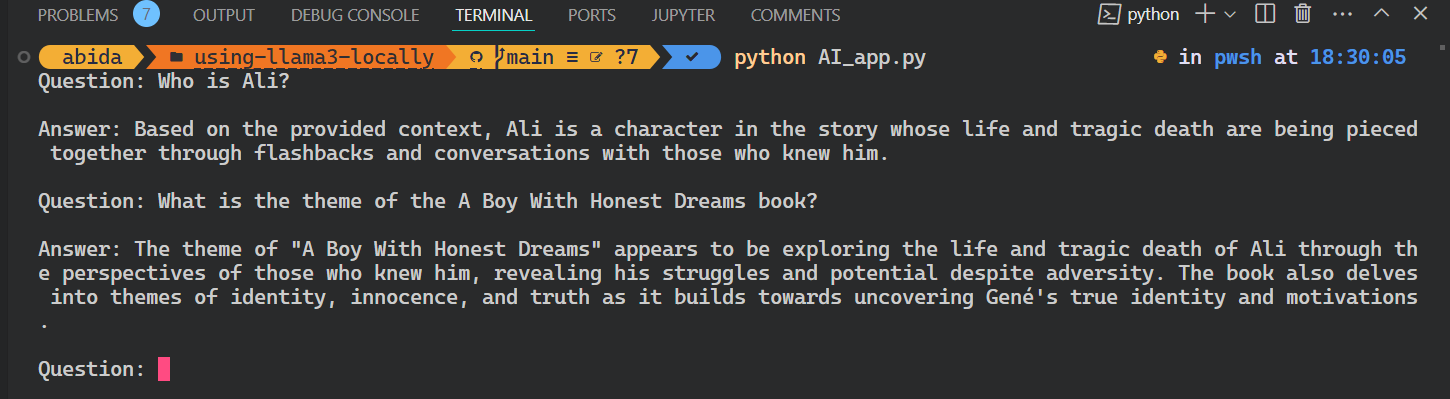
Run the application by writing `Python` and the file name in the terminal.
python AI_app.pyThis is cool. We have created our own RAG AI application locally with few lines of code.
All the source code for this tutorial is available on the GitHub repository kingabzpro/using-llama3-locally. Please check it out and remember to star ⭐the repository.
The ability to run Llama 3 locally and build applications would not have been possible without the tireless efforts of the AI open-source community. This community of dedicated individuals works day and night to make AI accessible to everyone, enabling us to harness the power of these models and build our own systems.
By doing so, we can ensure data privacy and security while avoiding subscription or API fees. If you want to be part of this ecosystem, please contribute to the project, spread the word, and also donate.
In this tutorial, we have learned to use Llama 3 locally on a laptop. We have also learned about the inference server and how we can use it to integrate Llama 3 into VSCode.
Ultimately, we built the Q&A retrieval system using Langchain, Chroma, and Ollama. The data never left the local system, and you didn't even have to pay a single dollar to build it. Apart from the simpler applications, you can build complex systems using the same tools that we used in this tutorial.
The next natural step in your learning journey is to take the Developing Large Language Models skill track. You will learn about deep learning, transformer architecture, how to fine-tune LLMs, and LLMOps.
Keep Learning AI Skills With DataCamp
track
course
track
blog
Richie Cotton
5 min
tutorial
Abid Ali Awan
14 min
tutorial
Abid Ali Awan
19 min
tutorial
Zoumana Keita
11 min
code-along
Dan Becker
code-along
Andrea Valenzuela